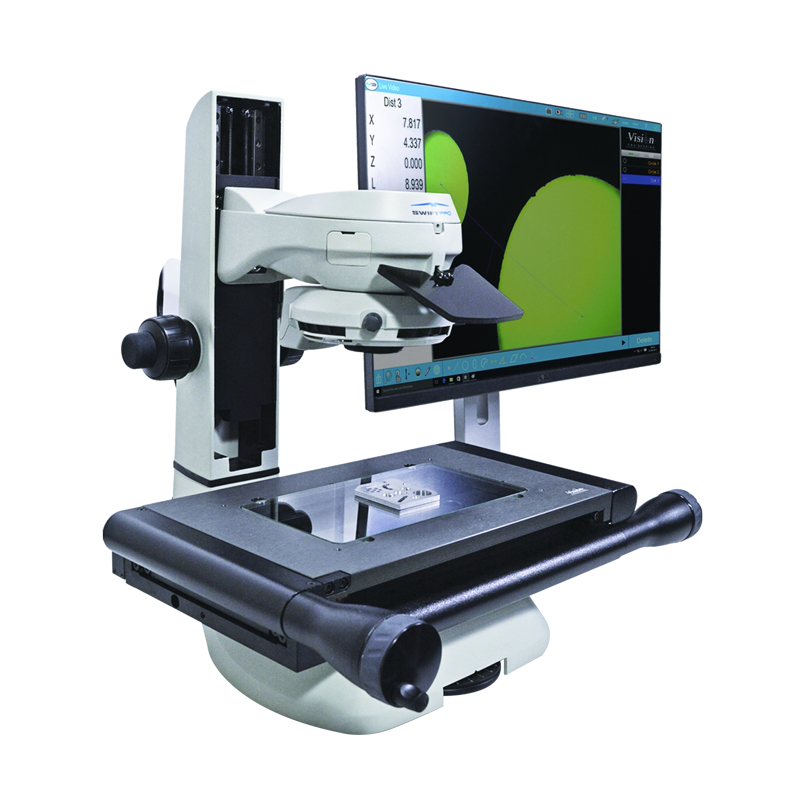
Swift PRO Duo
Technical Specifications
- Optical microscope and video measurement system in one
- Up to 200mm x 100mm measurement stage, 5μm stage accuracy
- Advanced and robust measuring system in a compact size
- Designed especially for toolmakers and shop floor operators
- Take accurate measurements in seconds, with no need for pre-programming
- Z-axis variant for height measurement
- Patented optical ergonomic microscope offers high resolution surface inspection
- Ideal for use on the shop floor and in the QC lab
Two measurement systems in one!
Swift PRO Duo is the only video measuring system to incorporate an ergonomic measuring microscope.
Previously difficult-to-view samples can now be measured and inspected on the same system, in the same routine, by the same operator. Swift PRO Duo provides fast and accurate measurement of both routine and complex precision parts.
With a rich suite of measurement and reporting features, it is the right measurement tool for a broad range of applications, from electronics and aerospace to automotive, plastics and medical device manufacturing.
Why video and optical measurement?
Dual video and optical measurement technologies provide the best of both worlds, so whatever component you are measuring, you can be sure you have the best tools for the job, in a single system, without any hold-ups.
Video measurement
Video measurement is ideal for routine components where edges of features can easily be identified.
The smart video measurement tools allow the operator to quickly detect and measure features accurately and repeatedly.
The advantage of video edge detection is the practicality and overall speed of measurement.
Optical measurement
In order to take an accurate measurement, you need to clearly identify the edge of the feature being measured.
Swift PRO Duo incorporates the patented Dynascope eyepiece-less measuring microscope, providing high contrast, microscope-resolution image of your components.
Complex, or difficult-to-view features can be viewed in intricate detail, ensuring you can take accurate measurements of all your components, not just the easy ones! The superb microscope image also allows for high resolution visual inspection.
Optical measurement is beneficial when component edges are not clear due to lack of contrast. The high resolution crisp image from the optical head enables you to accurately select features to measure. Typical examples of this would be for clear or black plastics and surface features on metal parts (where there is no contrast between the feature and the background).
Seamlessly switching from video measurement to optical measurement in the same routine, without delay, gives you the best measurement tool available all the time.
Dynascope technology
Swift PRO Duo is the world’s only system available to include the unique and patented eyepiece-less ergonomic measuring microscope.
The Dynascope technology allows operators to take accurate measurements whilst wearing prescriptive glasses, safety goggles and contact lenses. Other system benefits include a large field of view and peripheral vision.
Measuring stage calibration, with NLEC
Swift PRO Duo includes Vision Engineering’s proven 6″ x 4″ (150mm x 100mm) precision measuring stage (8″ x 4″ 200mm x 100mm option also available).
The stage comes complete with factory-set Non-Linear Error Correction (NLEC) calibration to ensure optimum accuracy, traceable to international standards for the purposes of ISO9000.
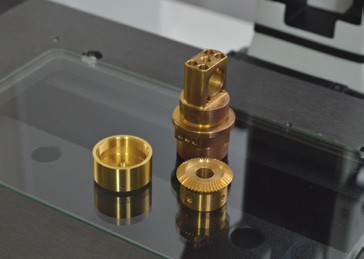
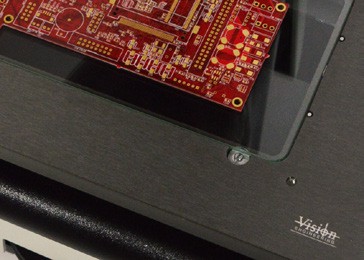
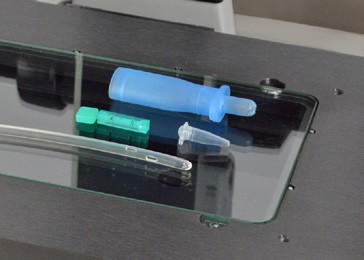
Application Note Hypodermic Needle
Measurement Uncertainty
(X, Y)
- Uncertainty formula U952D = 5+(6.5L/1000)µmWhere L = length in mm, using controlled conditions with 100x magnification at the standard measuring plane. Increased accuracies may be obtained over shorter measuring lengths and by in-situ system calibration.(Z) Z-axis accuracy 10μm, using controlled conditions with 100x magnification
Video Camera
- High definition 2MP video camera.
Optics
Patented twin pupil monoscopic Dynascope™, infinity corrected optical system, with pre-centred crossline graticule to both eyes.
- Option of custom designed graticule, pre-centred to one eye
Magnification Options (System Total)
Quick change magnification options:
- 1x objective, 10x total magnification
- 2x objective, 20x total magnification
- 5x objective, 50x total magnification
- 10x objective, 100x total magnification
Measuring Stage
Precision measuring stage, with factory-set Non-Linear Error Correction (NLEC) calibration as standard.
Measuring Range
- (X, Y): 6″ x4″ (150mm x 100mm) or 8″x4″ (200mm x 100mm) stage options
- (Z) for 3 axis variant: 3.86″ (98mm)
Maximum Load
10kg
Height adjustment
3.9″ (100mm) of height adjustment.
Encoder Resolution
X = 1µm Y = 1µm Z = 0.5µm
Illumination
Substage and surface illumination provides the ability to measure both profile and surface features.
- Enhance substage illumination
- Quadrant Surface Illumination with cool, corrected color temperature LEDs
- Illumination control via Software
- Substage iris control
Dimensions
- A = 26.77″ (680mm) (max)
- B = 16.93″ (430mm) (stage: 6″ x 4″)
- B = 20.08″ (510mm) (stage: 8″ x 4″)
- C = 18.90″ (480mm)
Standar Nilai
Tim kami berupaya membuat nilai tambah untuk proses manufaktur dan riset pelanggan kami. Melalui produk dan solusi teknis, kami mencari cara agar dapat memecahkan masalah berbagai aplikasi.
